If you’re looking for a quick, stylish way to enhance your nails, press-on gel nails might be just what you need! These innovative nail enhancements have become increasingly popular for their convenience and stunning results.
In this blog post, I’ll explain what press-on gel nails are, their benefits, how to apply them at home, and tips for maintaining your beautiful manicure. Let’s dive in!
Introduction to Press-On Gel Nails
Press-on gel nails are a fantastic option for anyone who wants beautiful, salon-quality nails without the time or expense of visiting a nail salon.
They are designed to be easy to apply at home, making them perfect for busy individuals or those who prefer DIY beauty solutions. I’ve found that they offer a great way to switch up my nail look whenever I want!
What Are Press-On Gel Nails?
So, what exactly are press-on gel nails? These are artificial nails made from a flexible gel material that mimics the look and feel of traditional gel manicures.
Unlike regular acrylics or traditional gels that require curing under UV light, press-on gel nails can be applied quickly using adhesive tabs or glue.
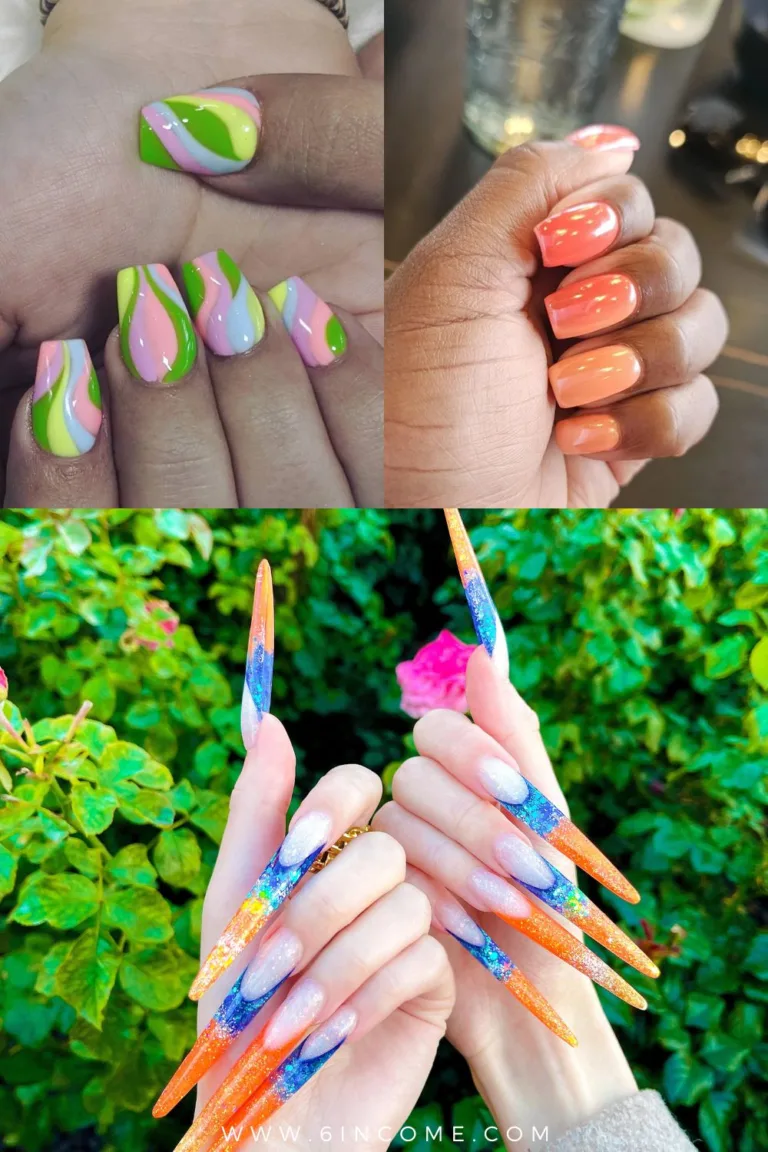
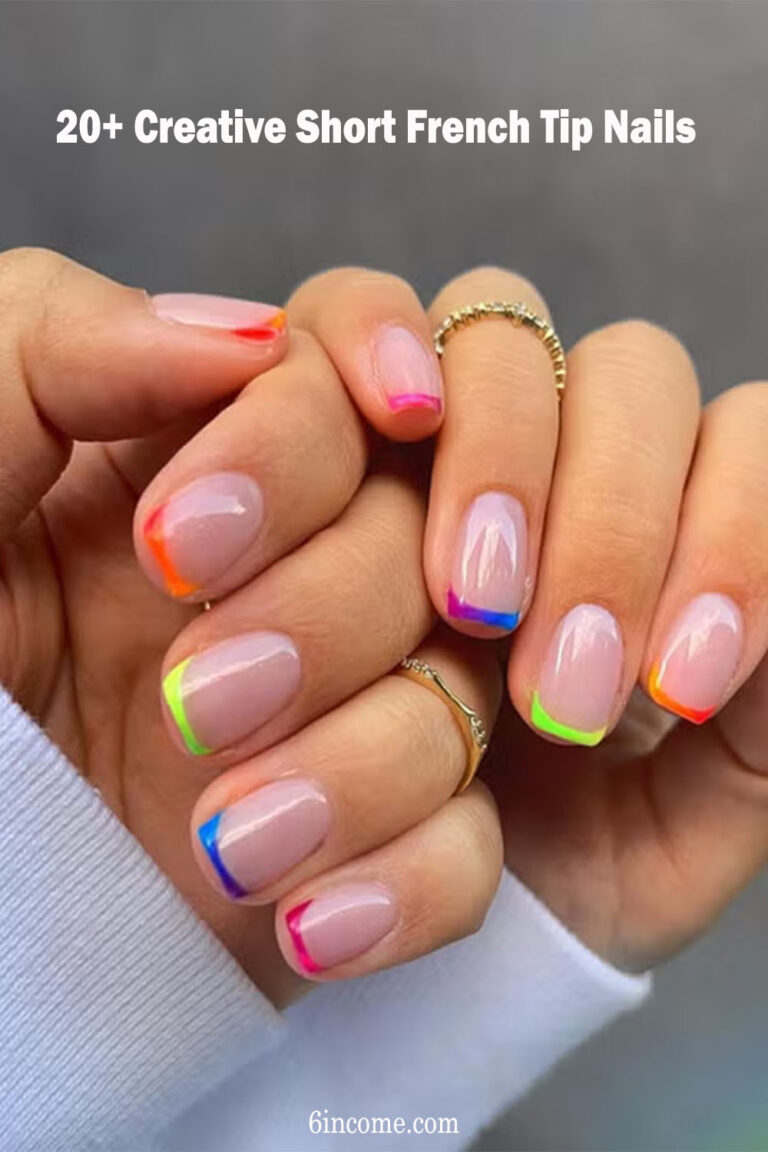
The beauty of press-on gel nails is that they come in various colors, designs, and lengths, allowing you to express your personal style easily. Whether you want a classic French manicure or bold patterns, there’s something for everyone!
Benefits of Press-On Gel Nails
Convenience and Time-Saving
One of the most significant advantages of press-on gel nails is their convenience. You can apply them in just a few minutes without needing any special tools or equipment. I love how I can go from bare nails to fabulous in no time—perfect for those last-minute plans!
Cost-Effective
Press-on gel nails are also budget-friendly. They cost significantly less than regular salon visits. Plus, many brands offer reusable options that allow you to switch up your look without breaking the bank. This makes them an excellent choice for anyone looking to save money while still enjoying beautiful nails.
Variety and Customization
With so many designs available, you can easily find press-on gel nails that match your mood or outfit. From vibrant colors to intricate patterns, the variety is endless! I enjoy changing my nail design based on the season or occasion—it’s like having a new accessory every time!
Safe for Natural Nails
Unlike traditional acrylics or some other nail enhancements that can damage your natural nails during application or removal, press-on gel nails are generally safer. They don’t require harsh chemicals or drilling, which means less risk for your natural nail health.
How to Apply Press-On Gel Nails
Essential Tools and Products
If you’re ready to try applying press-on gel nails at home, here’s what you’ll need:
- Press-on gel nail kit (includes pre-made designs)
- Nail glue or adhesive tabs
- Nail file
- Cuticle pusher
- Rubbing alcohol (for cleaning)
Step-by-Step Application Guide
Applying press-on gel nails is simple! Here’s a step-by-step guide:
- Prep Your Nails: Start by removing any old polish and gently pushing back your cuticles with a cuticle pusher.
- File Your Nails: Shape your natural nails using a nail file if needed.
- Clean Your Nails: Wipe your natural nails with rubbing alcohol to remove oils and residue.
- Select Your Size: Choose the right size of each press-on nail for your fingers.
- Apply Adhesive: If using glue, apply a small amount on the back of the press-on nail; if using adhesive tabs, place them on your natural nail.
- Press On: Align the press-on nail with your cuticle line and firmly press it down for about 10 seconds.
- Repeat: Continue until all desired nails are applied.
- Final Touches: If needed, file any edges for a perfect fit.
I find this process enjoyable because it allows me to customize my look quickly!
Maintenance Tips for Press-On Gel Nails
To keep your press-on gel nails looking fresh longer, here are some maintenance tips:
- Avoid Excessive Water Exposure: Try not to soak your hands in water for long periods; this can weaken the adhesive bond.
- Use Gloves When Cleaning: Wearing gloves during chores helps protect your beautiful manicure from chipping.
- Regular Touch-Ups: If you notice any wear or tear on your design, don’t hesitate to do touch-ups with matching polish or replace any damaged press-ons.
By following these tips, you can enjoy stunning press-on gel manicures for days!
Frequently Asked Questions (FAQs)
Q: How long do press-on gel nails last?
A: With proper care, they can last about one week before needing replacement or touch-ups.
Q: Can I create my own designs with press-on gels?
A: Absolutely! You can customize plain press-ons with nail art stickers or decals for a unique look.
Q: Are there any risks associated with using press-on gels?
A: Generally safe when applied correctly; just ensure you follow instructions carefully to avoid damaging your natural nails during removal.
In conclusion, press-on gel nails offer an excellent solution for anyone looking for quick, stylish manicures without the hassle of frequent salon visits. With their convenience, affordability, and variety of designs available, they’re perfect for anyone wanting beautiful nails in no time! If you have any questions or experiences with press-on gel nails, I’d love to hear from you in the comments below!